

Installing a dedicated dash cam is a practical upgrade for modern riders. However, a motorcycle's electrical system is more compact than a car's. Because motorcycles are exposed to weather elements and continuous engine vibrations, adhering to professional wiring standards is important for system reliability.
If you are planning a DIY installation, focusing on these three technical standards—and knowing how to implement them—can contribute to a more reliable system setup.
Selecting a Switched Power Source (Managing Parasitic Draw)
Choosing the correct power logic is the first step in a successful installation.
Technical Logic: Many electronic devices do not have an automatic power management function. If connected directly to the battery, a device can create a continuous "parasitic draw." Even when the motorcycle is parked and turned off, the system continues to draw current. Over time, this can deplete the battery to a point where the engine cannot start.
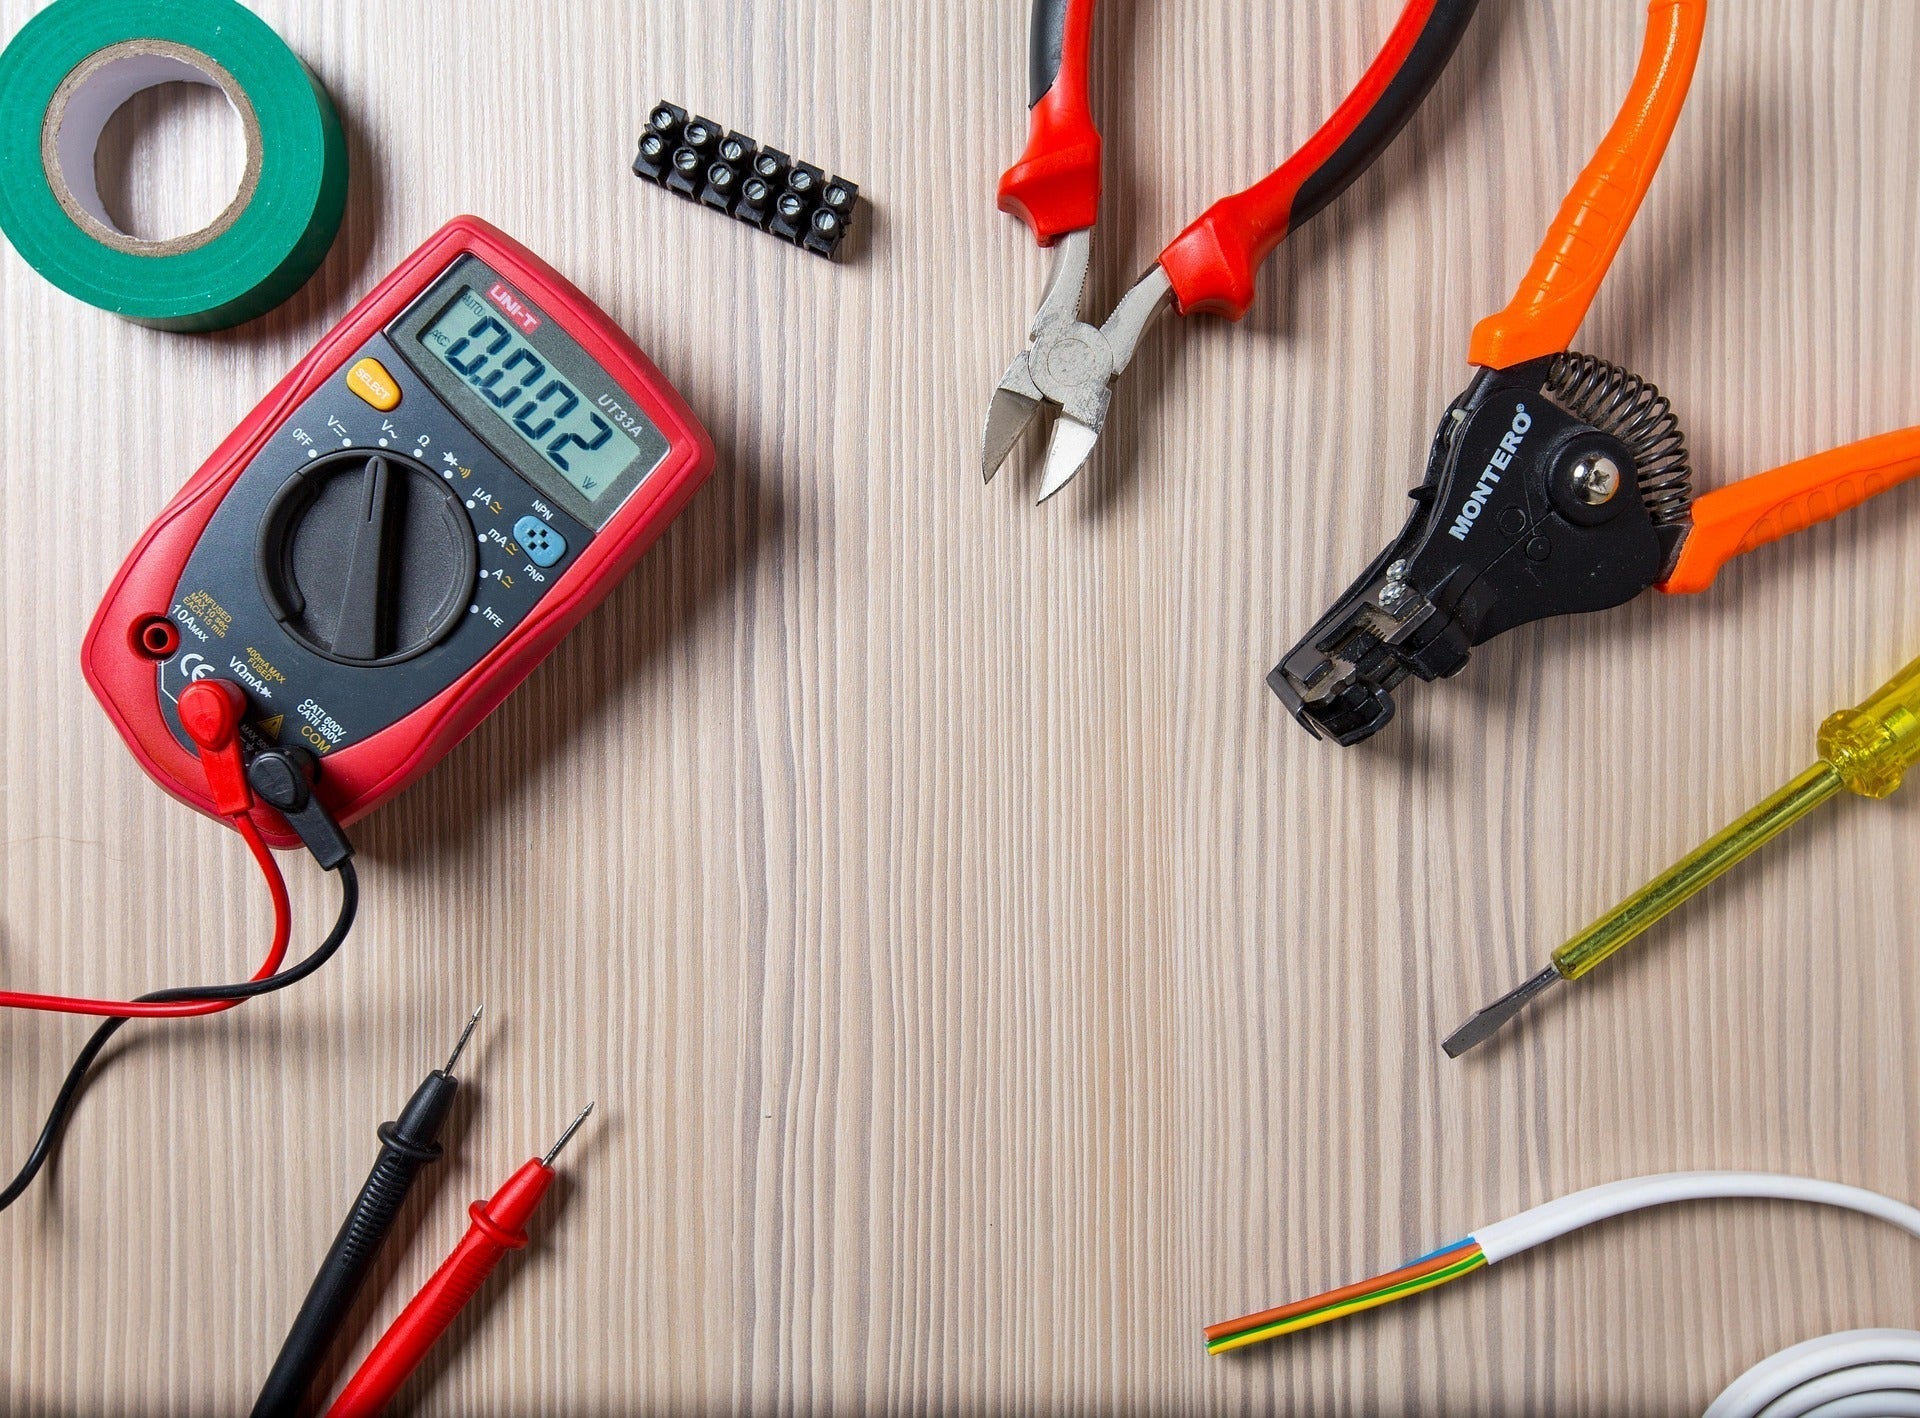
The Solution: It is recommended to select a dash cam that utilizes a switched power source. To identify a proper switched power line (ACC) during installation, use a digital multimeter set to DC voltage. With the ignition off, the target wire should read 0V. When the key is turned to the 'ON' position, it should read approximately 12V.

Establishing a Stable Grounding Loop
A consistent and low-resistance ground connection is vital for the electronics to function without interruption.
Technical Logic: It is common to attach the ground (negative) wire to a nearby bolt on the motorcycle frame. However, motorcycle frames are usually treated with powder coating or paint to prevent rust. These coatings act as electrical insulators. An unstable ground forces the circuit to work through higher resistance, which can lead to intermittent power delivery or file corruption.
The Solution: For a stable circuit, route the negative wire directly to the battery's negative terminal. If a frame ground must be used, the contact point needs to be sanded down to bare metal to ensure electrical continuity. To verify a ground point, the resistance (Ohms) between your chosen point and the battery's negative terminal should be close to zero.

Maintaining Factory Wiring Integrity
The method used to connect to the motorcycle's power system affects both the safety and the longevity of the installation.
Technical Logic: Motorcycles experience more vibration than standard cars. Over time, these vibrations can loosen unsecure connections, such as those made with basic wire taps or simple electrical tape. Additionally, altering the factory wiring harness can compromise the motorcycle's moisture resistance and potentially affect the manufacturer's warranty.
The Solution: Avoid cutting factory wires. Many modern motorcycles have pre-wired auxiliary plugs located under the seat or behind the headlight assembly. If a factory plug is unavailable, consider using specialized, non-destructive connectors or a dedicated fused power distribution block to maintain the integrity of the original system.

How the INNOVV K7 Smart Power Module Supports These Standards
To support these technical requirements, the INNOVV K7 dash cam system utilizes a dedicated Smart Power Module designed to interact safely with the motorcycle's electrical system.
Isolated Signal Trigger: The K7 does not draw its operating current directly through the motorcycle’s ignition switch. Instead, it uses a separate, low-current signal line (the yellow ACC wire). The system draws its main power from the battery via the red wire but remains in a standby mode until the yellow wire detects the ignition signal. This minimizes battery drain during storage and ensures the factory circuits are not overloaded.
Automatic Power Management: By utilizing the ACC trigger design, the camera boots up automatically when the motorcycle is turned on. When the ignition is turned off, the system powers down and saves the final video file, helping to protect the motorcycle battery.
Visual Diagnostic Feedback: The K7 system includes a wired remote control with LED indicators. These indicators provide immediate visual feedback on the power and recording status, confirming the system is correctly wired and receiving power.

Installation Best Practices
Bench Test: Before routing cables under the fairings, connect all components and power the system on to verify the LED indicators and camera feeds are functioning.
Camera Placement: Mount the cameras in locations that do not interfere with the motorcycle's suspension travel or steering lock. Ensure the front camera is positioned to minimize glare from the headlight during night riding.
Cable Management: Use zip ties to secure wiring harnesses, ensuring they are routed away from high-heat areas like the exhaust and moving parts like the steering column.
Memory Card Setup: Proper memory card installation is vital; refer to the K7 manual to ensure the card is inserted correctly and the cover is tightly secured to maintain the water-resistant seal.
Aktie:
Our Core Values:What drives INNOVV
INNOVV K7 Meets the BMW R1300GS [Video Inside]